
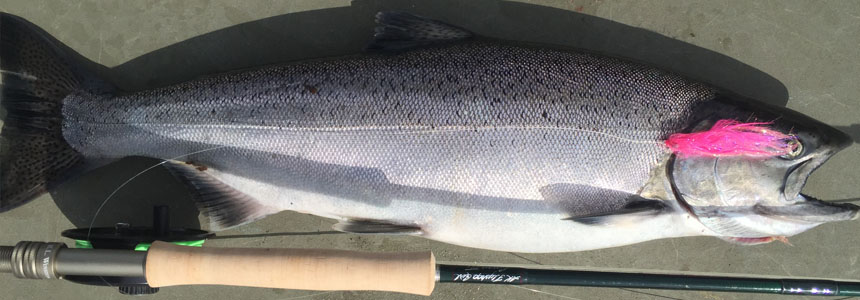
 Bright King Salmon caught on the fly by Kayla Roys. Well, you did it. You got a nice fish for the table, and you can't wait to put it on the grill and enjoy it again. You gilled and gutted it, and now you have a whole fish all set to cook, except...it's still whole. While whole salmon are great for the oven, they don't cook up quite right on the grill - some parts burn, other parts end up raw, and you can't seem to get all the scales out of the butter sauce. For our money, a filleted salmon is the way to go for summertime grilling.
Filleting as it pertains to salmon is separating the fish into lateral halves by the removal of the spine. Sounds simple, right? Well, with a little guidance and some practice, it is. We're going to break down the process into a few easy steps with some pictures to help you get your catch from the stringer to the grill with a minimum of hassle.
TOOLS FOR THE JOB
Before you start filleting your salmon, you are going to need a few things handy to make the process go smoothly, namely:
A Salmon - sort of goes without saying, but you'd be surprised. We like to gut and bloodline our fish before filleting, and we also take off the head and tail to speed things up.
A Good Work Surface - a stable, easy-to-clean work surface is essential. HDPE (high density polyethylene) boards are great for this, and so are plastic-laminate shelving pieces. Surfaces to avoid are your spouses card table, or their ironing board. Ideally, the work surface should be large enough to fit 2 fillets side-by-side.
A Sturdy, Sharp Knife - our favorite is a 10" x 1" straight knife with a very stiff blade, and we keep it "wicked-shahp", as they say in Boston. While a thin, whippy "fillet knife" will work on smaller fish, this type of blade tends to be hard to control in larger fish, often resulting in meat loss.
A good, easy-to-use Knife Sharpener - sharp knives make clean, easy cuts...'nuff said.
In the optional equipment category, rubber gloves take some of the mess out of the job, disposable surface wipes make cleanup a cinch, and plastic bags make good storage vessels for the bones and trim.
LET'S GET IT ON
STEP #1 - Gloves on, knife and sharpener at the ready, gutted, headed and tailed salmon present. We like to have the dorsal (top) side of the fish facing us with the head-end pointing to the right.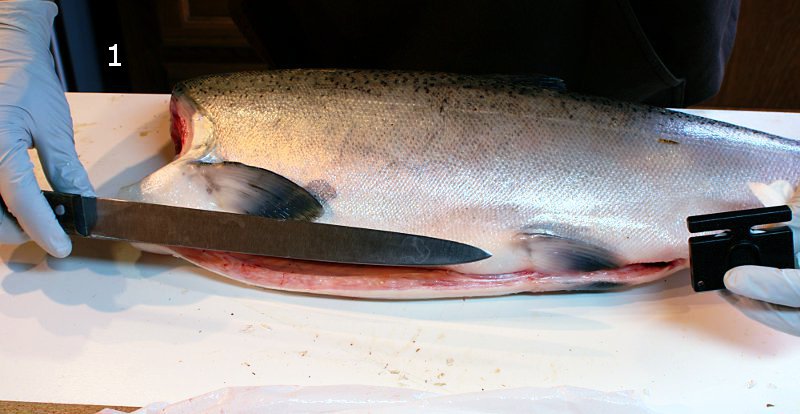 Gloves on, knife and sharpener at the ready, gutted, headed and tailed salmon present.
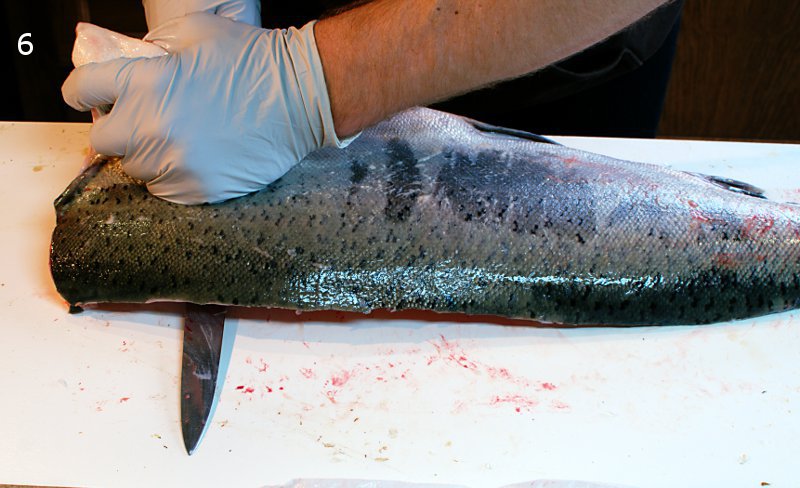
STEP #2 - Holding the belly flap up and out of the way by the pectoral fin and collar, put the knife in the head-end of the fish on the left (upper) side of the spine.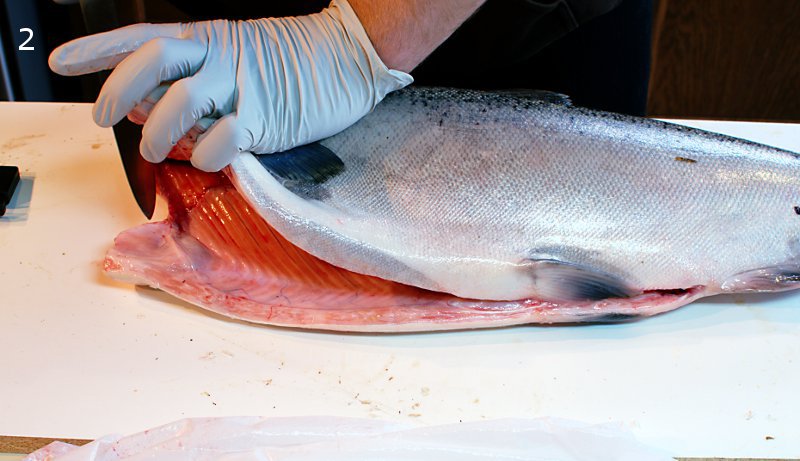 Put the knife in the head-end of the fish on the left (upper) side of the spine.
STEP #3 - Still holding the belly flap up and out of the way, slide the knife along the spine with an in and out "sawing" motion. Be sure to keep the knife tilted ever-so-slightly down towards the spine to ensure the most meat recovery. Still holding the belly flap up and out of the way, slide the knife along the spine with an in and out "sawing" motion.
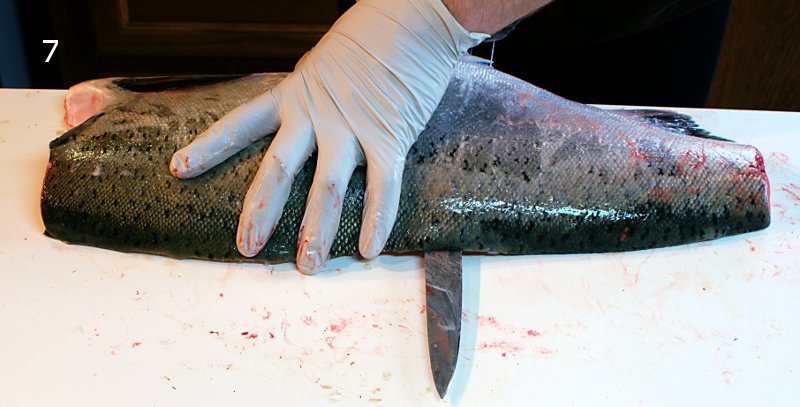
STEP #4 - When you get to the end of the belly cavity, move your hand from the pectoral fin and place it flat on the side of the fish about midway down the body. The purpose of this is to brace the fish from BEHIND the knife. Still maintaining an ever-so-slight tilt downwards towards the spine, continue cutting through the fish. When you complete the cut, lift off the first fillet.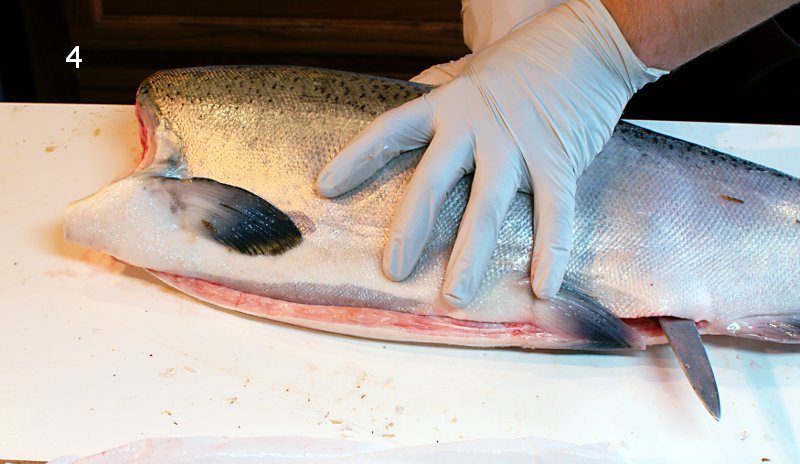 Still maintaining an ever-so-slight tilt downwards towards the spine, continue cutting through the fish. When you complete the cut, lift off the first fillet.
STEP #5 - Flip the fish over so the belly is facing you, head-end to the right. We are going to start the process all over again for the second fillet.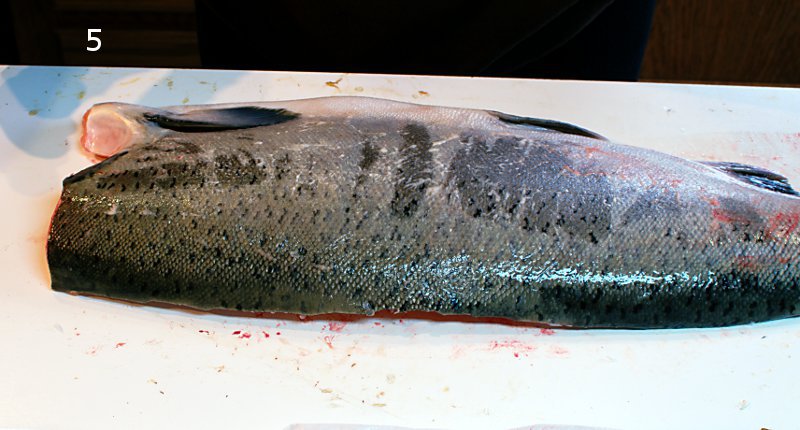 Beginning the second fillet. Flip the fish over so the belly is facing you, head-end to the right.
STEP #6 - Holding the belly flap up and out of the way by the pectoral fin and collar, place the knife on the top of the right (upper) edge of the spine and begin cutting.
 Place the knife on the top of the right (upper) edge of the spine and begin cutting.
STEP #7 - Continue cutting until you are near the end of the ribcage, then transfer your hand from the pectoral collar to brace the fish about midway down its length, again, from BEHIND the knife...we can't stress this "behind the knife" business enough. Continue cutting until the side is separated from the spine and lift the fillet.
 Continue cutting until the side is separated from the spine and lift the fillet.
STEP #8 - When you are finished, you should have a mostly meatless spine and 2 nice sides of salmon. If you wish, you can stop here - the fish is ready to grill.
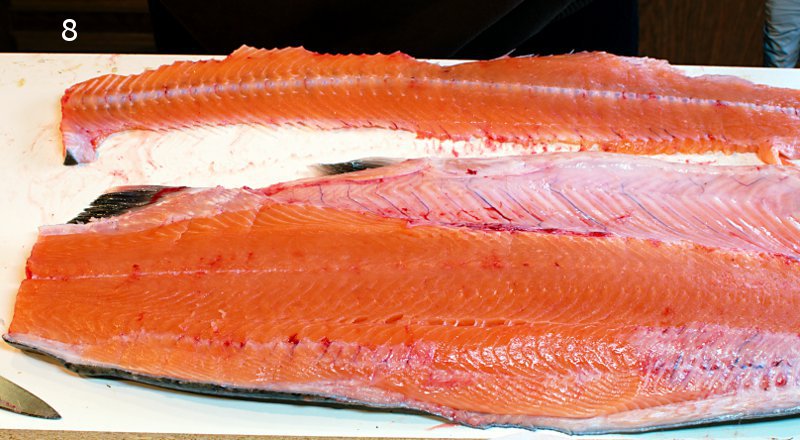 When you are finished, you should have a mostly meatless spine and 2 nice sides of salmon. If you wish, you can stop here - the fish is ready to grill.
STEP #9 - We like to add a few extra steps to remove the rib bones and collar, so without further ado...Remove the collar by cutting on a vertical line about 1/4" from the head-cut and on the backside of the pectoral fin bone - don't throw this away, as they are pretty good on the grill. We just take it off to make the next step easier.
 Remove the collar by cutting on a vertical line about 1/4" from the head-cut and on the backside of the pectoral fin bone.
STEP #10 - This is where it gets tricky. To start, slide the knife underneath the rib bones, then angle the blade up into them. The general idea is to use the bones as a guide to keep from cutting into the belly meat, and this is going to require some patience and delicacy. The easiest way to remove these bones is to make a series of sweeping motions in one direction with the knife, angling up against the rib bones, while applying slight pressure with the free hand. When you finish each sweep, pull the bones back to re-set the knife on the cut line, and sweep again. When you get to the end of the bones (right above the belly cut), hold the rib-bone flap up and cut it off with one motion. BE VERY CAREFUL OF YOUR HAND PLACEMENT when removing the rib bones, as this requires your hand to be on the business end of the knife...go slow, and please, don't cut yourself.
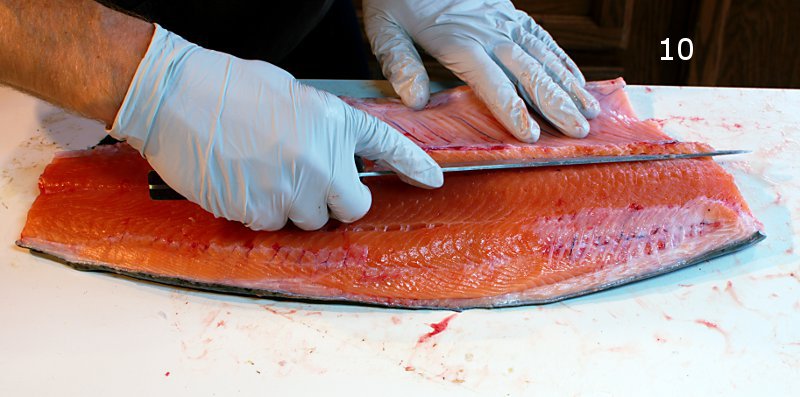 Removing bones is tricky business, be careful and aware of your hand placement, so as not to cut yourself while doing so.
STEP #11 - Your trimmed, finished fillet, ready for some salt, pepper, and a little lemon-butter sauce.
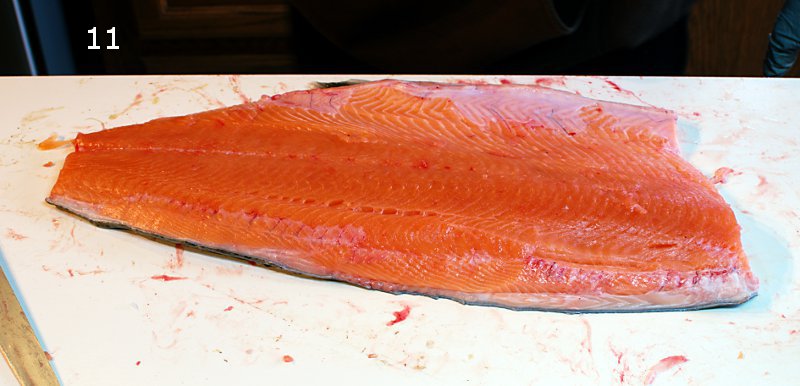 Your trimmed, finished fillet, ready for some salt, pepper, and a little lemon-butter sauce.
THAT'S A WRAP
As with most tasks, filleting takes a little practice to get it down to a smooth series of cuts. Remember to always use a sharp knife, and let the bones of the fish be the guide for your cuts. Be sure to go slow, be mindful of your knife and hand placement, and if something doesn't look or feel right, stop cutting.
Now get out there and catch a salmon for the grill.

Do you have videos or how-to steps to teach a beginner, like myself? I’ve done bluegills before, that’s the biggest fish I’ve ever caught. Do you have classes?
If you follow the steps in this article for filleting a salmon and you have a good quality and very sharp knife you will do fine! Just keep that blade honed so it slices the flesh and doesn’t tear the flesh. Good luck this season!
Really clear instructions and good photos. This is easier than it looks if you have a decent knife that is sharpened properly.